Vuejs Firebase Tutorial: Build Image Gallery App - [Part 2] [END]
Hello everyone 👋
Welcome back, I'm Raihan, and today we're gonna continue our Vuejs & Firebase Tutorial: Build Image Gallery App.
If you haven't read the previous part, please read and watch it carefully because both parts are related to each other. Go to the link here, as you see below here ↓
 |
| Preview Project |
### Requirement
- Nodejs & npm
- Text editor
- Browser
- Git
- Internet
What we're gonna do is connecting our project with Firebase, if you haven't heard about it you can go check out https://firebase.google.com/
### Development
Ok, so now let's add Firebase to our project. Open your terminal and direct to our path project then run the command below ↓
Go to https://console.firebase.google.com/ then create a project
| Create a project on Firebase |
Enter your project name, we're here naming with vuefire-gallery
| Naming project on Firebase |
Next step, we're gonna make enable the Google Analytics of this project
| Enabling for analytics |
The third step, select your account for the configuration the Google Analytics, then create the project.
| Finishing create project |
After that, we're gonna copy all the keys of the Firebase project. Click continue. You'll be redirected to the home dashboard Firebase.
| Home page dashboard firebase |
As you can see, there are a few platforms that we can integrate our project/app with Firebase. Here, we choose the web platform.
Then add the nickname of your project/app, here we're gonna use the same name as before.
| Nickname project Firebase |
For the setup Firebase Hosting, we're gonna explain in the next tutorial, so we're just gonna leave the box unchecked. Then, click the Register app.
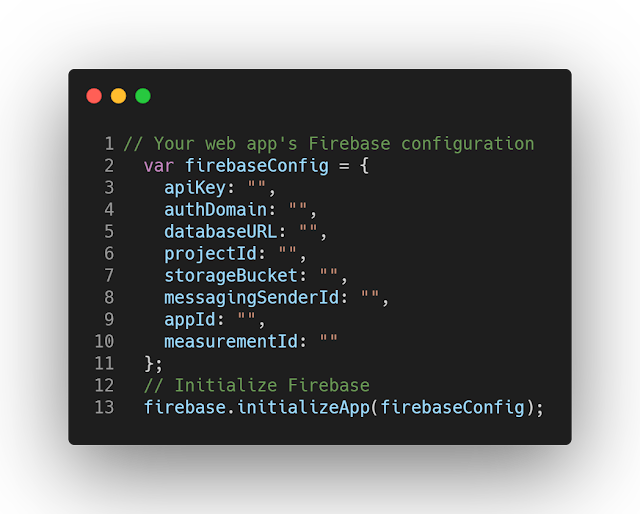
As you can see in step 2 add firebase SDK, you'll see your web app firebase configuration such as apikey, appid. Since we're already installed the firebase in our codebase. We don't need Firebase JS SDK anymore, so we're just copying like the code below.
 |
| Firebase SDK Configuration |
Ok, now let's paste the code in our main.js, so it will look like this
 |
| Paste the configuration on main.js |
| Storage page of Firebase |
As you see after we go to the storage page, we can just click Get started.
| Get started storage Firebase |
Then, click next we're gonna select region of nam5 (us-central) if you prefer region you can just choose another region it's just about which region server that you want to save your files.
| Configure the storage |
Just hit done button, once you've finished setting up the storage, you may see your storage is empty.
| Finishing the storage setup |
Now, let's go to the rules tab, what we gonna do is to change some rules
 |
| Storage Firebase |
So, we're gonna change rule if request.auth != null to == null, why do we change that? by default rules of Firebase storage is we need to request authentication for read and write data of the storage because here we don't need any of authentication just for upload the image so we have to change the rule like below
| Changing rules storage |
Ok, so let's try to upload the image, choose whatever image you want
| Testing upload the image |
As you see below, we had defined after upload if (completed !== 0) then we call alert for informing if upload had completed a hundred percent.
| Image upload success |
So, let's now go to the storage of Firebase to see where the image goes
| Storage Firebase |
If you see the image you just have uploaded there then congratulations you just made upload image to storage in Firebase successfully 🙌👏
The rest is how are we displaying images that just we uploaded before?
Now, let's back to our codebase then go to our Gallery.vue component, we're gonna change some line of codes.
| Preview display images |
| Detail display one image |
There it is, ok it looks nice 💖👌👍 alright everyone, it's a wrap! 👊👏
If you need to find the complete project, check out the repo here, see you 👋


Comments
Post a Comment